Do your backups
Backups do not prevent viruses, but they can make it easier to recover if your computer is infected. Some viruses are very destructive, and will encrypt or delete your files so you can no longer access them. Having good backups prevents you from losing everything.
We will look at three different kinds of backups in this document:
- System Restore and Previous Versions, which backs up recently changed files. This is easy to configure, costs no additional money, and makes it easy to recover older versions of your files. However, System Restore will not protect you against disasters like lightning strikes or your hard drive dying, and typically System Restore will not back up everything long term.
- Windows Backup, which can put backups on a USB flash drive, a second hard drive on your computer, or a remote location. This takes a little work to configure, but once set up it will back up your files regularly. This system costs a little money because you have to purchase something to back your data onto. These backups will help against viruses and your primary hard drive dying, but are still vulnerable to lightning strikes or computer theft.
- Remote backups, which put your backups on a hard drive far away. There are many remote backup solutions, but we will look at a service called MozyHome, which is free for personal use and reasonably easy to configure. Remote backups can protect you against computer theft and lightning strikes, but they have disadvantages of their own: remote backups use up bandwidth on your internet connection. In addition, you have to trust the remote location where your backups are being stored: transferring your personal files over the internet makes it easier for others to see their content.
At the very least, we recommend enabling Previous Versions and Windows Backup to a local drive. You can then evaluate whether you feel comfortable storing backups to a remote service.
You probably do not want to rely on remote backup services alone. Sometimes backup companies go out of business.
Your personal files are the most important things to back up, because in general you can always re-download and reinstall programs and multimedia files from the Internet. Most people care about backing up the following things:
- Their documents (which tend to be small and easy to back up)
- Their pictures (which are bigger than documents, but can often fit on a single USB flash drive)
- Their music and movies (which require lots of storage to back up)
Enable System Restore and Previous Versions
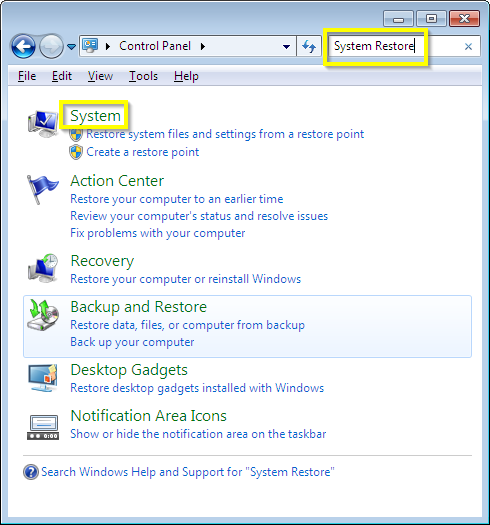
System Restore is usually enabled automatically, but you should check that it is enabled and working. Start by clicking the Start menu, going to Control Panel, and searching for “System Restore”, then clicking “System”:
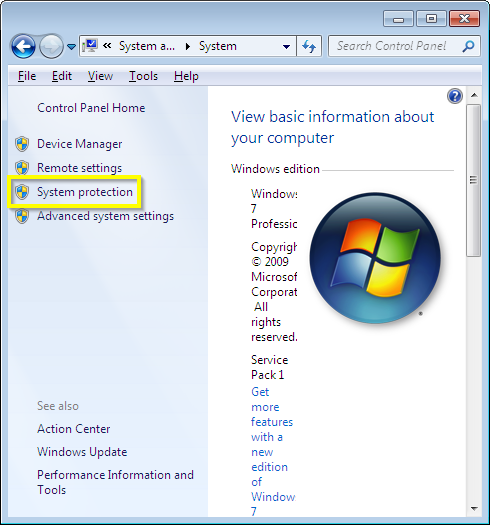
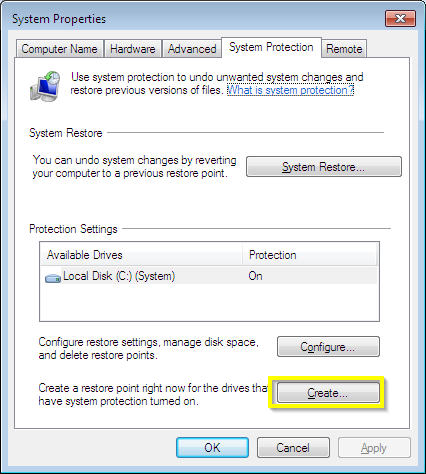
Next, click “System Protection”
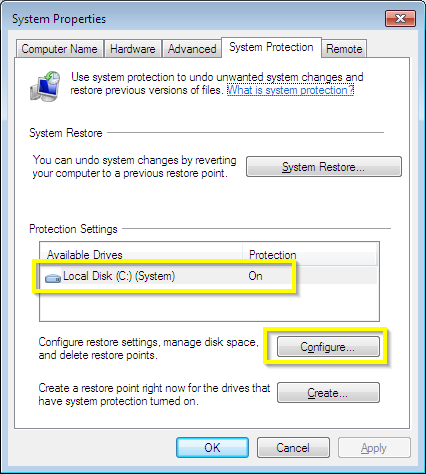
Make sure that your hard drives (at least Drive C:) have protection set to “On”. If not, click “Configure” and select “Restore system settings and previous versions of files”
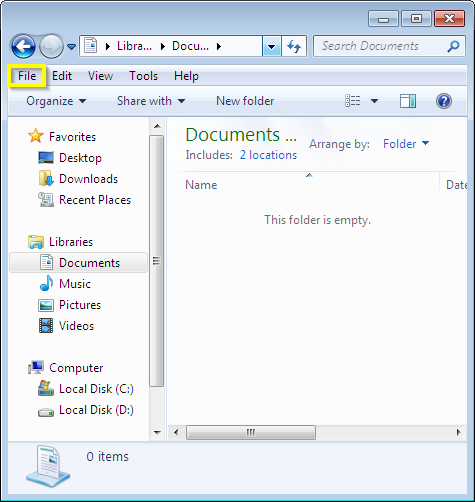
Once System Protection has been activated, you should be able to go to individual files and see previous versions of the files that have been taken. This process usually takes a couple of days to start, but we can check that this functionality works by initiating a restore point. Start by going to My Documents and making a document file by clicking the “File” menu:
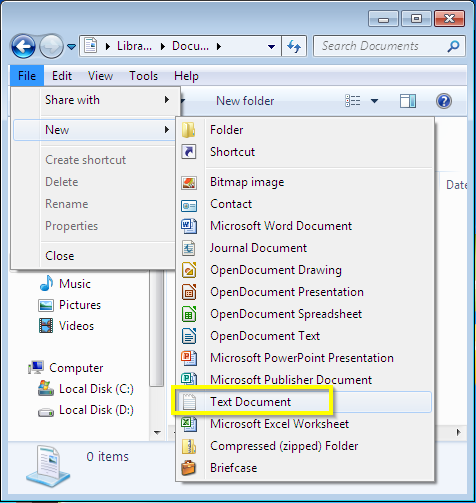
And then creating a new Text Document:
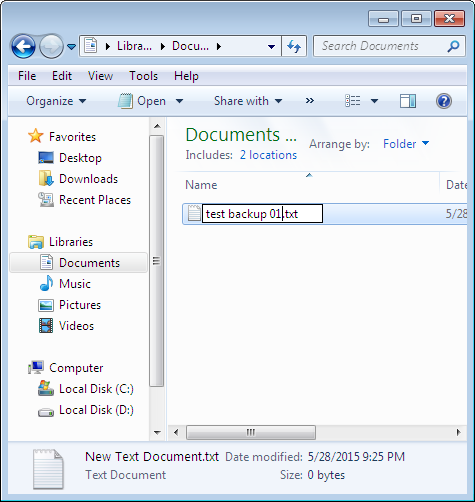
Give the document a name:
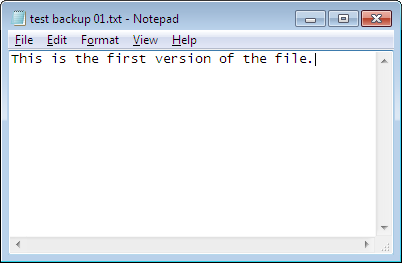
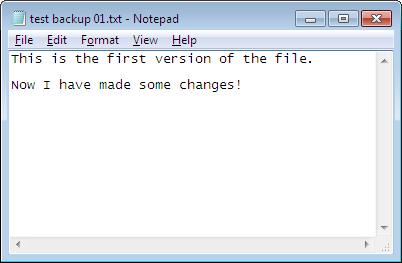
Double click the document to open it, and then put some text in the document.
Save the document. Now go to the System Restore tab above and click “Create”:
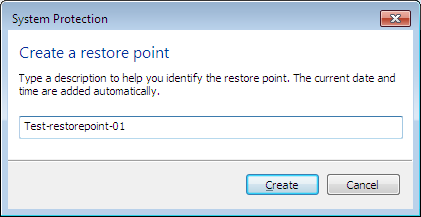
Give the restore point a name (it doesn’t matter what):
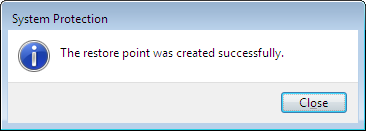
Wait a while for the system restore to complete. You should see that the restore point was created successfully:
Next, re-edit your document and add some text, then save the changed document.
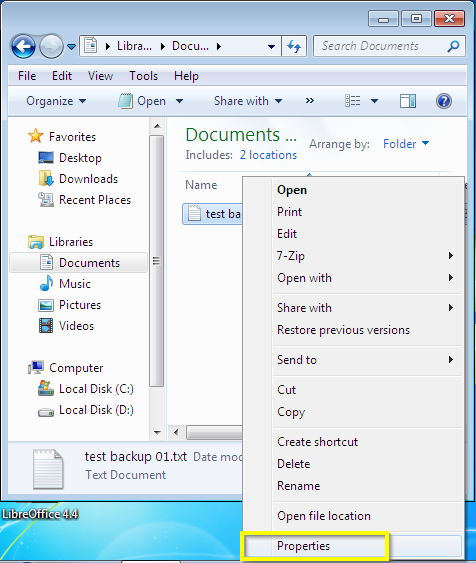
Now go back to your document, right-click it, and select “Properties”:
Click the “Previous Versions” tab.
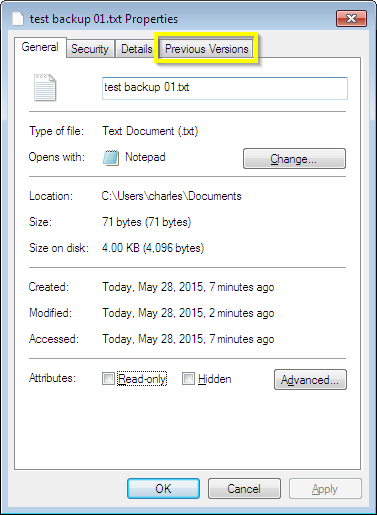
You should see there is a previous version of the document available. You can then restore this previous version. To avoid overwriting the current version, choose to make a “Copy” of the old version:

You are best off making a new destination for the restored file. In this case we are making a “test restore” folder:
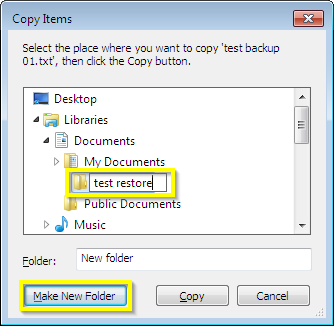
If you navigate to that folder you should see the old version of your file.
Enable local backups to a USB flash drive
Windows Backup is built into Windows 7. You can use it in a variety of ways, but we will focus on sending backups to a USB flash drive that is permanently attached to your computer.
The first step is to purchase a new USB flash drive, and put it in your computer. This drive will be used to store the backups. Any drive you can purchase for $10 or more should have plenty of space to store your documents and some of your pictures. The flash drive should be empty; Windows Backup will be unhappy otherwise.
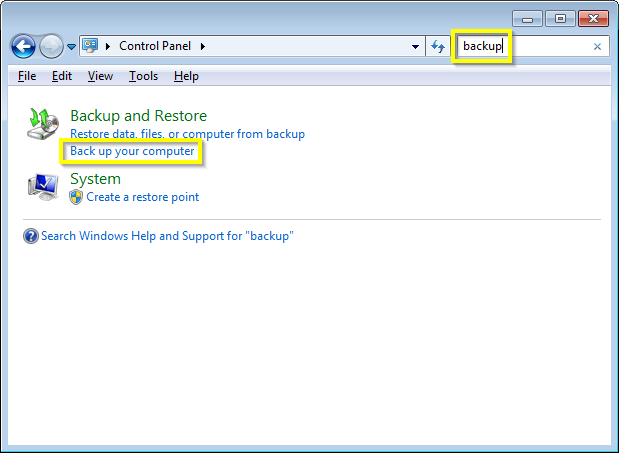
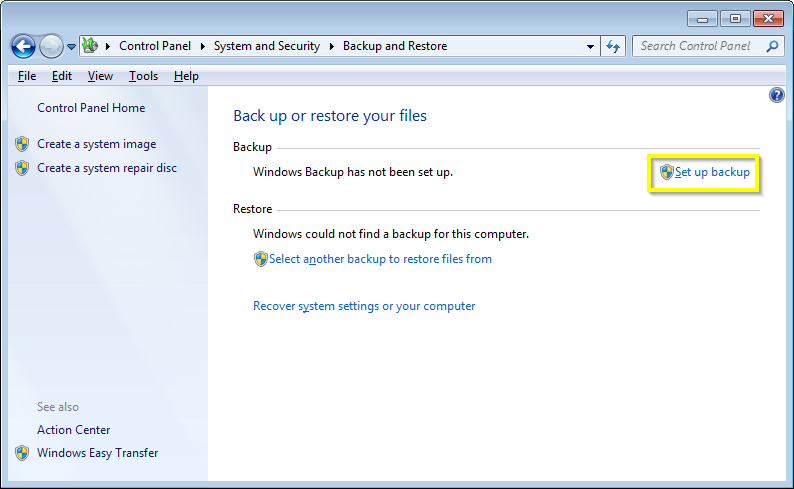
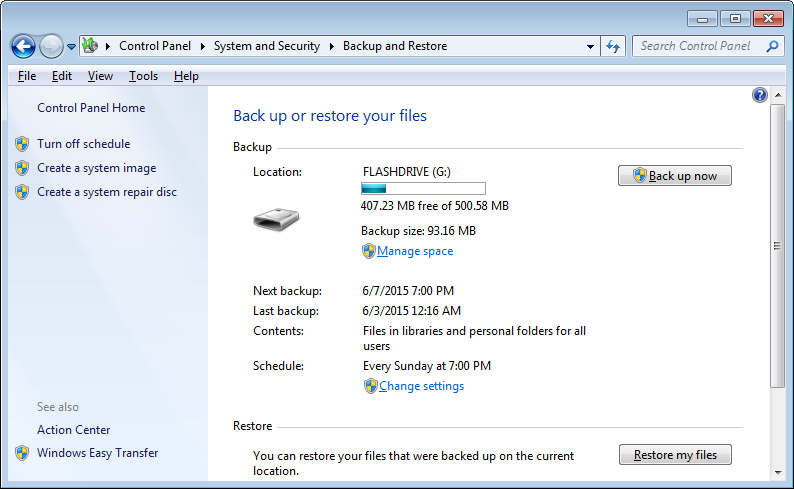
To start Windows Backup, click the Start button, go to Control Panel, and search for “backup”. Click “Back up your computer”:
Click “Set up Backup”
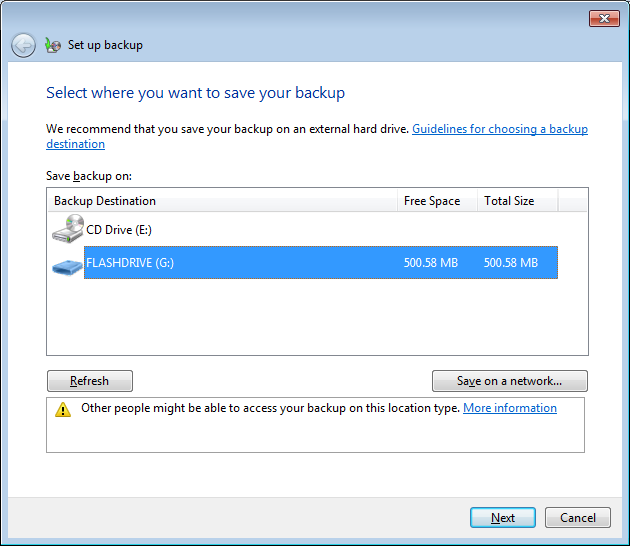
Now choose the USB flash drive as a backup location (in this picture it is labelled “FLASHDRIVE”, but it may labelled as “Removable Drive” or something else):
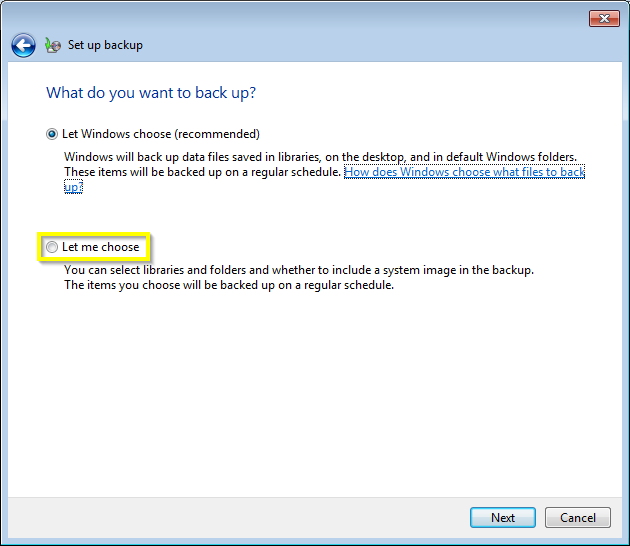
If you are backing up to a large device (such as a removable hard drive) then you can let Windows choose what to back up. Otherwise select “Let me choose”
Now double click “All users”. This should bring up a selection list.
The most important things to back up are your “Libraries”. If you are backing up to a USB flash drive, then you want to back up at least the “Documents” and “Pictures” libraries, assuming that is where you have stored your documents and pictures. If you have stored large files (movies, music) in your Documents folder then you will want to refine the selections further.
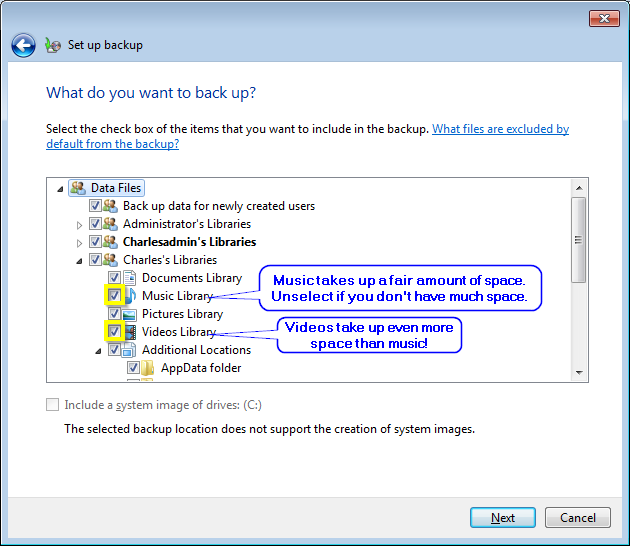
If you are backing up to a small device, you can unselect the Music and Videos libraries:
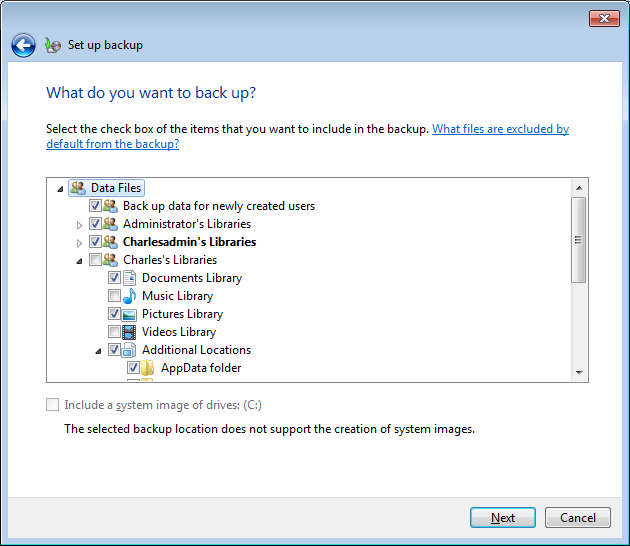
In general backing up more information is better than backing up less, but you also do not want to run out of space on your backup device. When you have made your selections, click “Next”.
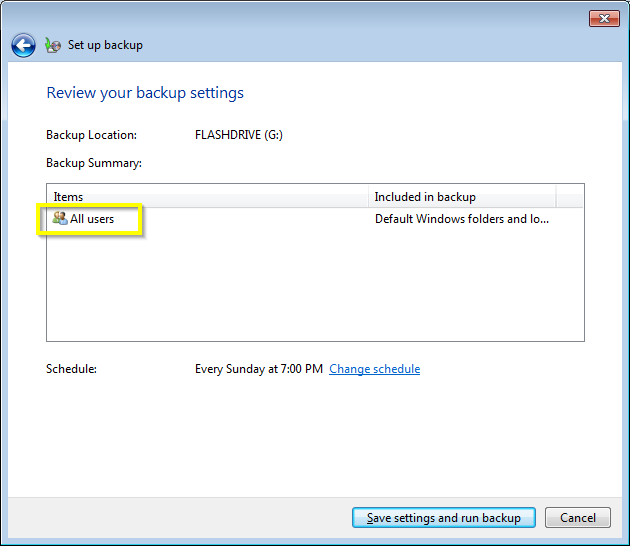
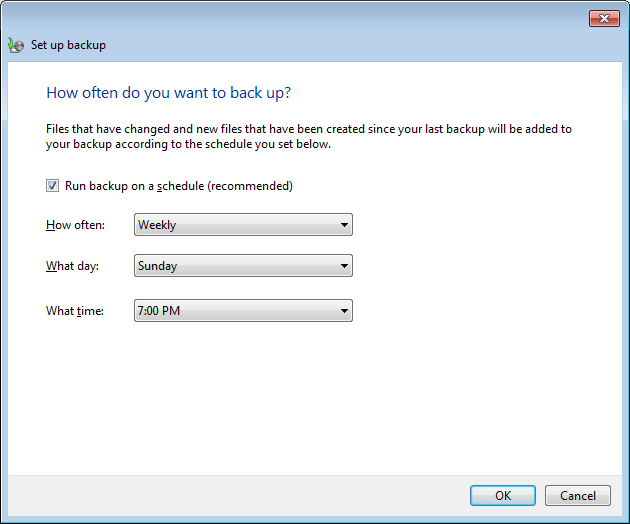
On the next screen you can edit the backup schedule. Ideally you would choose a schedule when your computer will already be turned on. Click “Change schedule” to choose an appropriate time. You should run the backup weekly or daily.
Click “Save settings and run backup”.
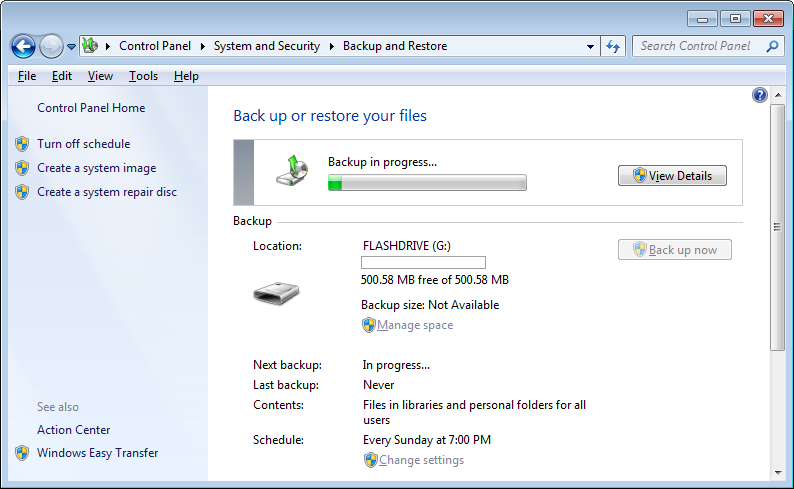
If you are lucky then the backup will complete successfully:
If your computer is off when the backup is scheduled, then the backup should run the next time you turn on your computer. Note that you will have to leave your USB drive plugged into your computer permanently in order for this backup scheme to work.
Other ways to use Windows Backup
In addition to backing up files onto a USB drive, you can also use Windows Backup to:
- Back up files to an external hard drive.
- Back up files to a second internal hard drive you install in your computer.
- Back up files to a Windows share on a different computer. This might be possible if you have a second computer or a media server at home.
Contact Computer Recycling if you are interested in exploring these possibilities.
Enable remote backups using MozyHome
There are many remote backup services. In this handout we will set up one called MozyHome. This company allows you to back up 2GB of files on their servers for free, which should be sufficient to back up important documents. It is also installable using Ninite.
Mozy also offers paid plans if you would like to store more data on their servers.
Note that as soon as you store your backups on somebody else’s servers, you are trusting that this company will not peek at your data. Many backup companies promise that they do not look at your data, but as an end user you have no good way to confirm this.
Note that Mozy (like other companies offering “freemium” services) makes it tricky to install their free offerings. Their goal is to direct you towards their paid products. Thus you have to jump through some hoops to install their product. (There is nothing preventing you from paying them for their service, of course!)
To get started, you first need to create a free MozyHome account. To do this, visit https://mozy.com/free :
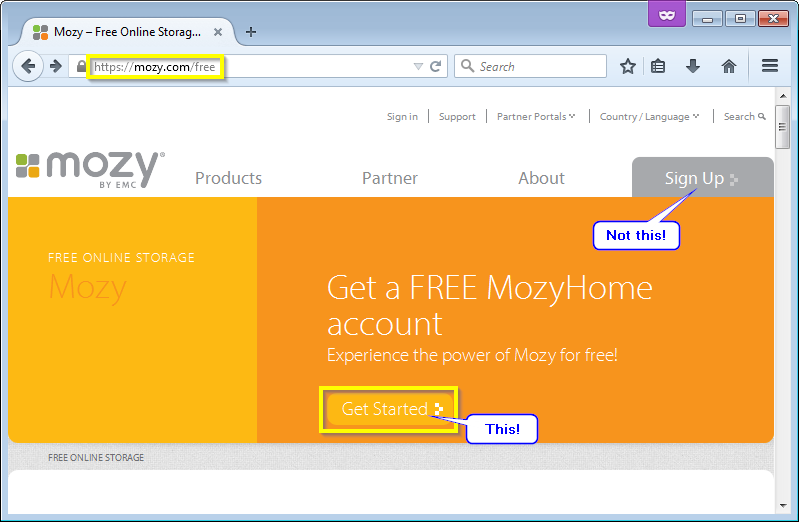
Note that Mozy will make it difficult to create a free account unless you use the https://mozy.com/free page. Clicking the “Sign up” link will direct you to create a paid account, so don’t do that. Instead, click “Get Started”.
You are first prompted to enter your country of residence:

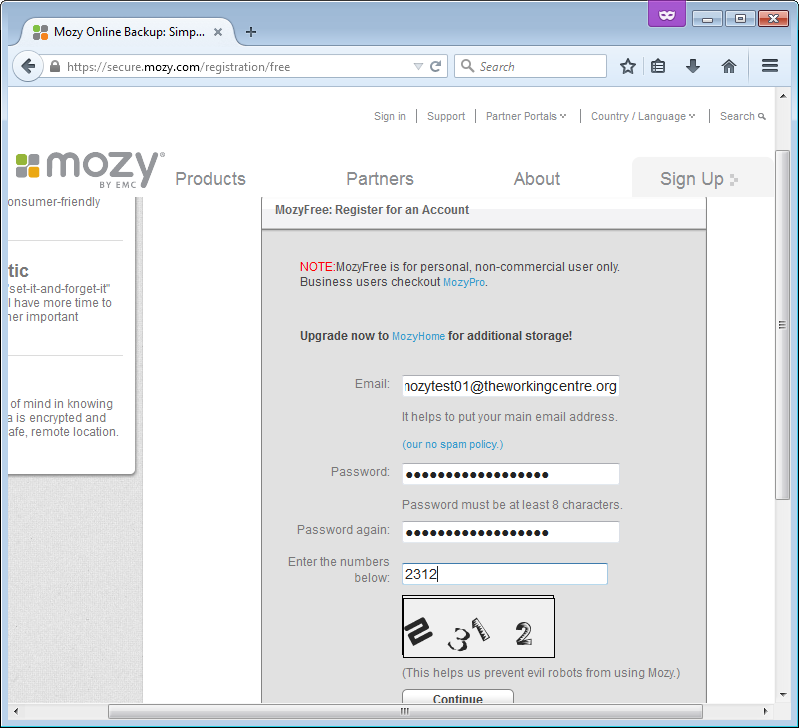
Enter your email address and choose a password.
You should then see a prompt to check your email:
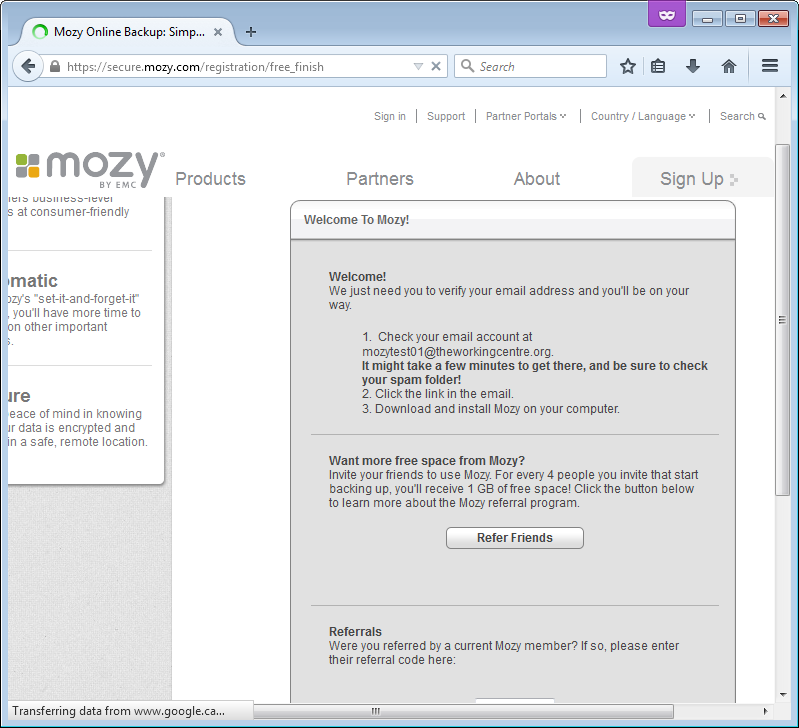
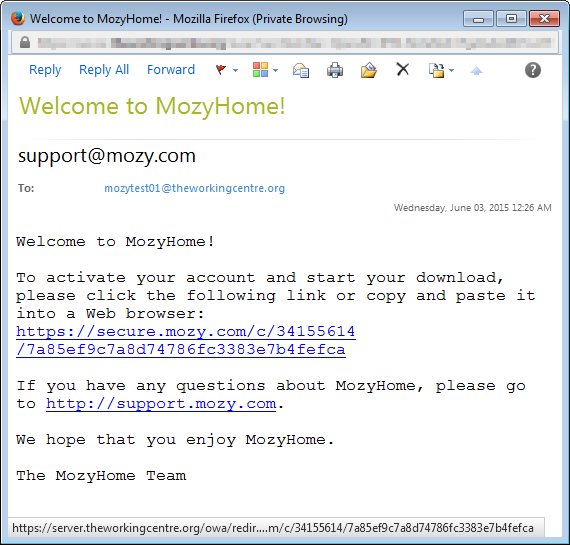
When you do so, you should see an activation link from Mozy. Often you want to be careful about clicking links in email (see the “Be careful about links in email” section below) but in this case you are expecting a registration email:
After clicking the link you should see a confirmation that your account has been created. You do not need to do much with this account, but you may want to look in the “Manage Account” section and unsubscribe yourself from Mozy emails.
On this page you will also see a link that you can use to download the Mozy client software. You can click that link and install Mozy if you want, but there are a bunch of steps and you have to be careful about not choosing a Mozy paid plan by accident. Instead, we recommend going to Ninite (http://ninite.com) and using that to install the Mozy client instead:
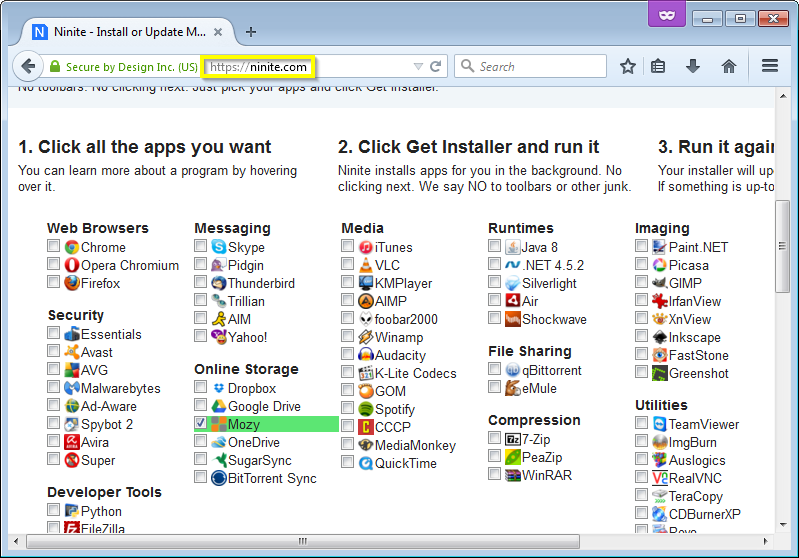
For more detailed instructions on using Ninite to install software, see the Use Ninite for common downloads section.
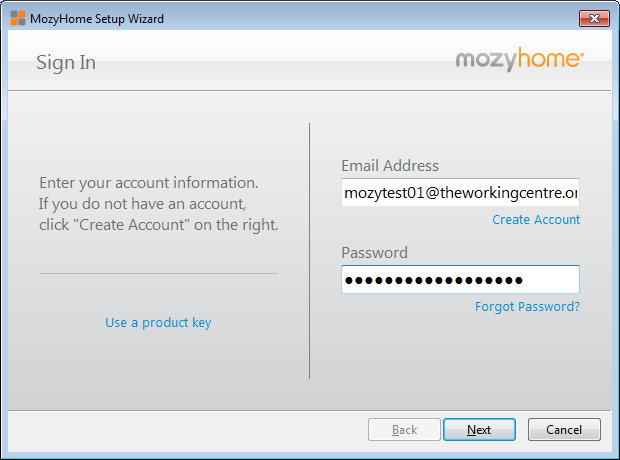
Once you have installed the software, it is time to set up a backup. Log in with the email account and password you created:
The next screen lists some files Mozy is offering to back up, and states that Mozy will use “standard encryption” to back up your files. You can use standard encryption if you want, but that means Mozy (and potentially other entities on the Internet, such as government spy agencies) can see your documents more easily.
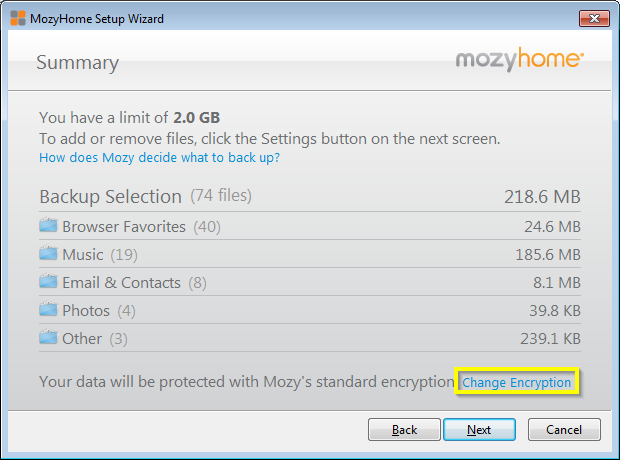
If you click “Change encryption” then Mozy will give you the option of choosing your own password to protect your backups. If you use your own password then Mozy promises that they will not be able to see the contents of your backups, even under force of law. It also means that you MUST put this password in a safe place. Putting the password on a computer file is not sufficient, because your hard drive may be dead (or your computer stolen!) when it is time to restore your backups. According to Mozy, without this password you will not be able to restore your backups when you need them.
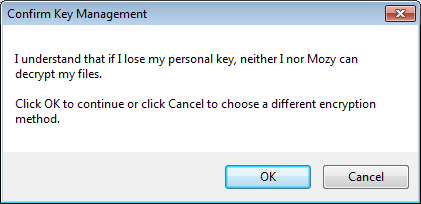
If you value convenience over privacy, then you can leave the encryption as-is. Otherwise, click “Change Encryption”. You will see a warning dialog:
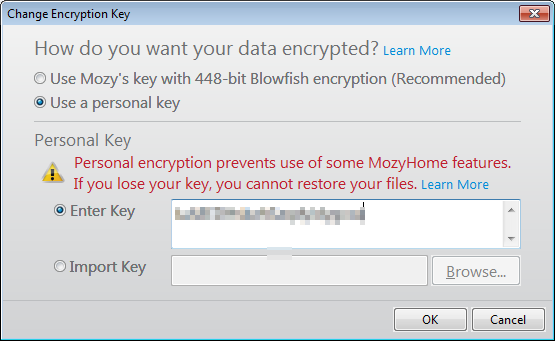
You will be prompted to choose a personal key (we have obscured the key we typed, and you should keep your key a secret too!). The “Key” is just a password you choose. You want to choose a strong password, and you want to record it someplace where you can get it after your computer has broken.
You will have the option to save your personal key (password) to a file.
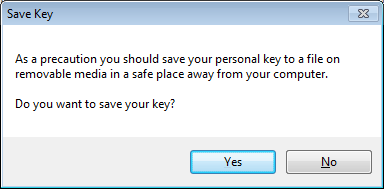
It might be a good idea to store this key on a secure USB flash drive or in a password manager like KeepPass (See Use a password manager for more information.)
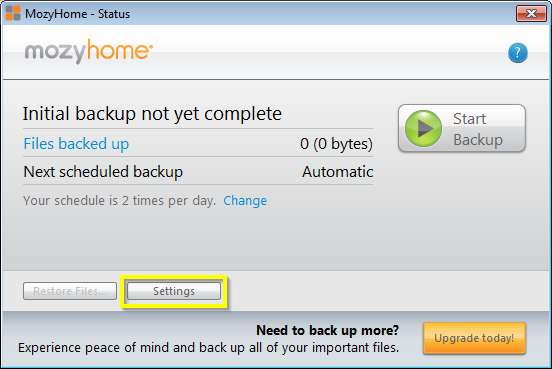
Next Mozy will tell you that setup is complete, but you may want to click the Settings button to change what is being backed up:
Go to “Backup Sets”, and unselect “Music” and “Videos” if they are large:
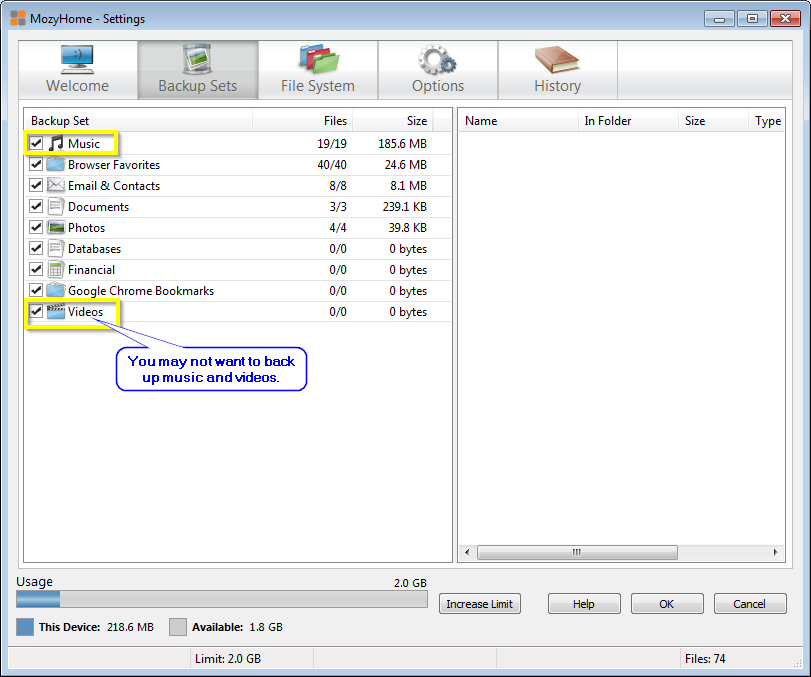
You will then have the option of choosing what files to back up. You probably want to back up your Internet Favorites and Documents first. If you have space, you can then back up photos. You probably will not have enough storage space to back up music or video files to Mozy.
Now you can let the Mozy service do its first backup by clicking “Start Backup” on the status screen:
By default Mozy will back up your files twice a day. You can change this frequency. You will also want to be careful about how much bandwidth the service is using to back up your files.
There is a Mozy icon in your system tray in the bottom-right corner of your screen. You can click it to see your backup status or change settings:
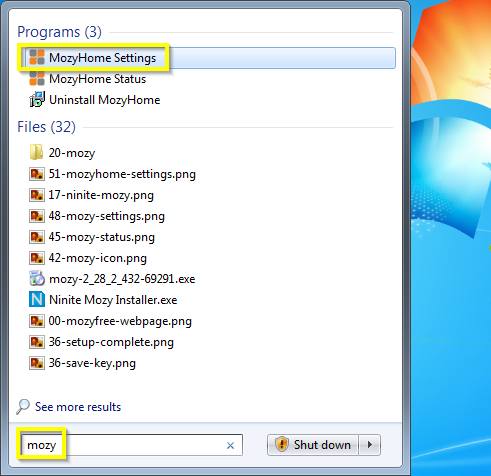
You can also open the Mozy client by clicking the Start menu and searching for “mozy”
To restore files from Mozy, open the program and then browse to the “Restore” tab:
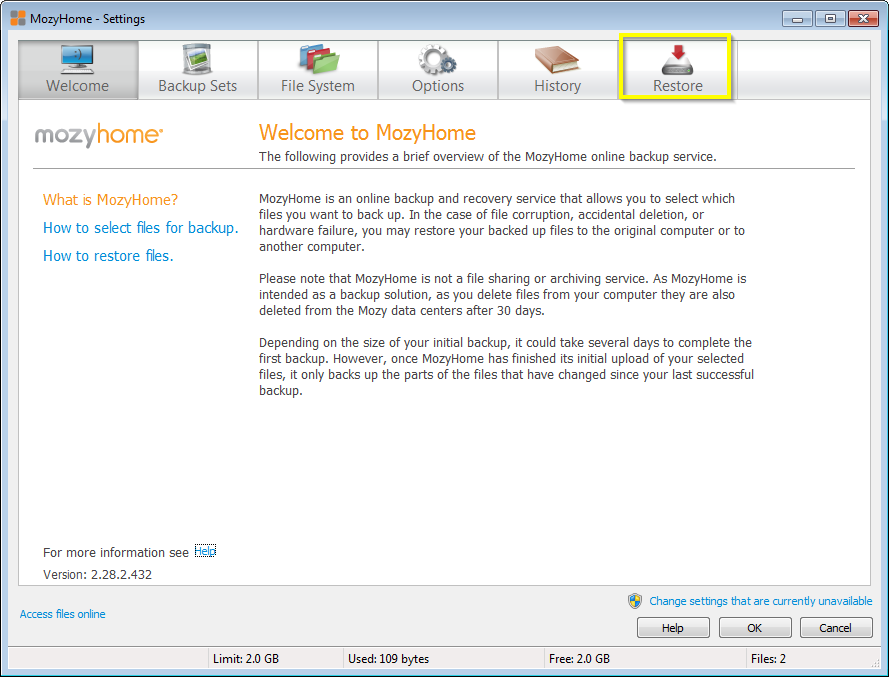
Mozy will keep up to thirty days worth of changes to your files, so if you accidentally delete a file (or it is infected with a virus like Cryptolocker) then you can restore it.
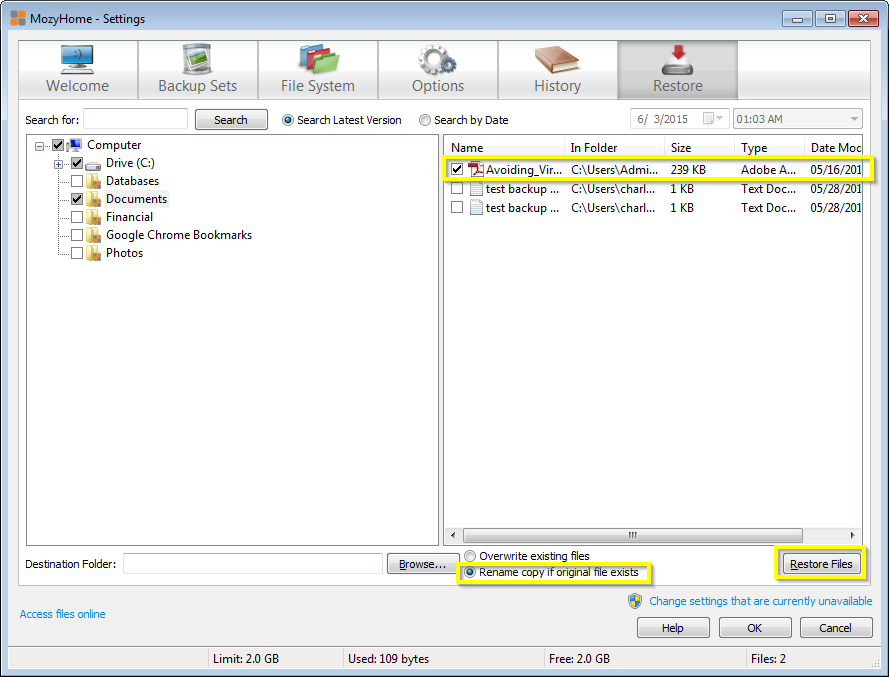
You probably do not want to overwrite your old files. Restore your files to a different location, and then get rid of the damaged files once you are sure the restored ones are adequate.
Choose the files you want to restore, select “Rename file if file exists”, and then choose to “Restore Files”
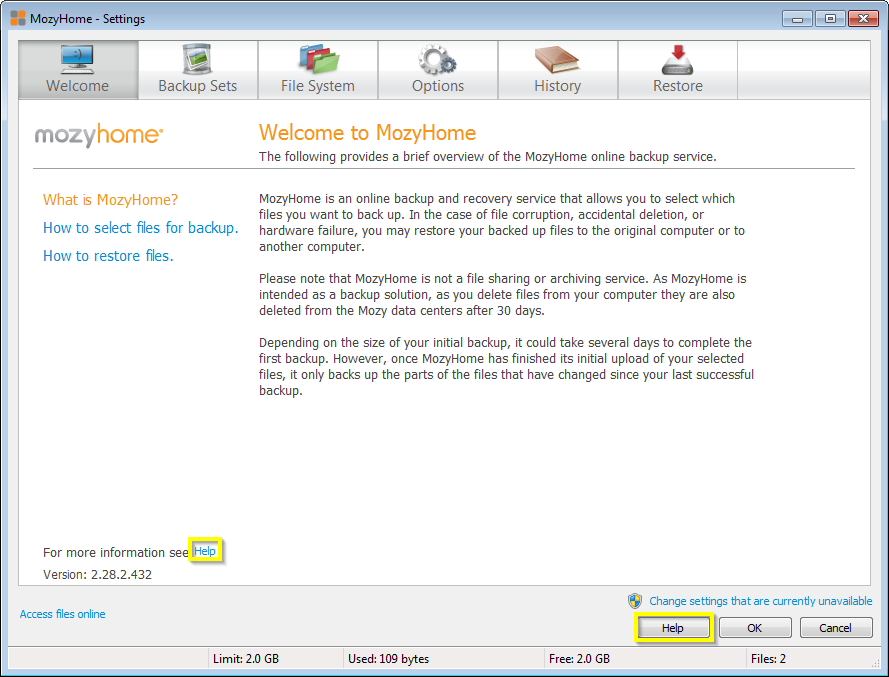
For more information on using Mozy, use the help option in the program: